With the introduction of CUDA in Azure, all of this can be done in the cloud! This is a tutorial on how to get it to work.
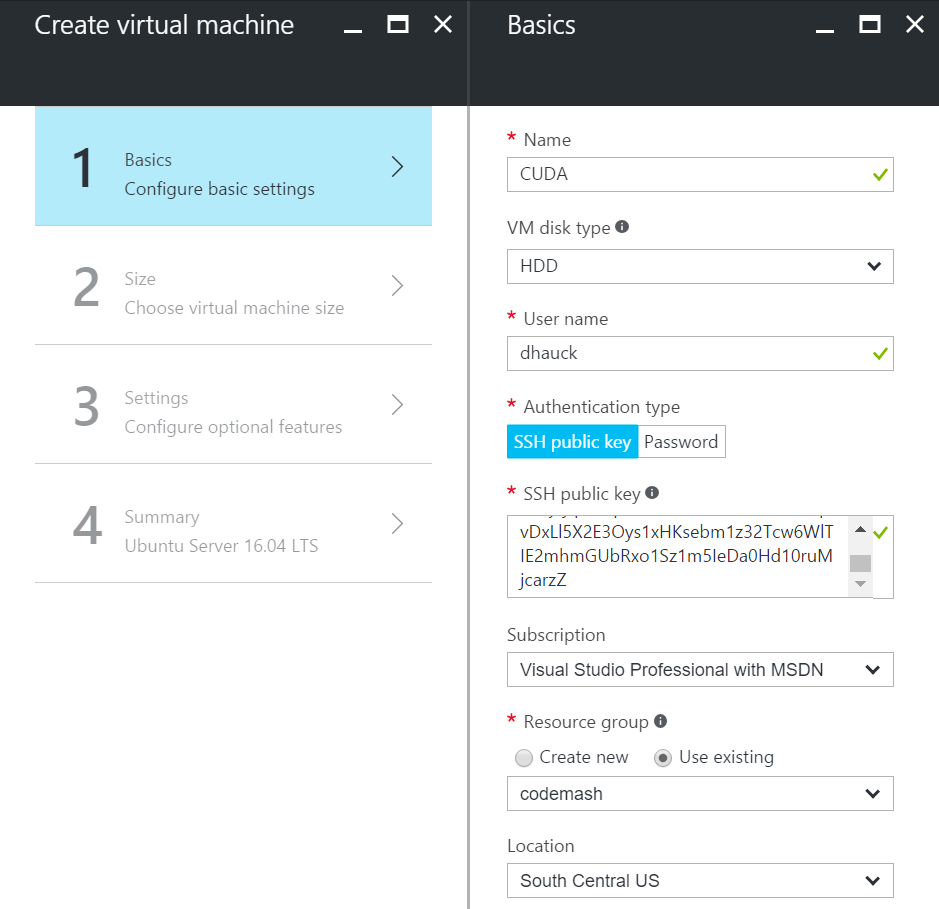
First, go to your Azure portal (portal.azure.com) and begin to create a new Ubuntu server.

Next, click on the "Create" button.

We then need to generate an ssh key pair. There are many different programs that can be used to generate this key pair. Personally, I use Bash on Ubuntu on Windows with "ssh-keygen." A tutorial to get Bash running on Windows can be found here: https://msdn.microsoft.com/en-us/commandline/wsl/install_guide.
Fill in all the rest of the basic information however you would like, however at the time of this blog post the location must be South Central US.
For the VM size, you will have to select "View all" in order to see the virtual machines with NVIDIA cards.

The virtual machines we want to select are the "N-Series." This pretty much means any VM that begins with the letter N. For this example, I will just be using the least expensive option with a single K80 GPU.

After this, everything else should be set up fine on your VM. Leave the settings the same and select "OK" on the Summary screen.
Now your VM should be all set up! We're going to ssh into it now. In your Azure portal, check the DNS name label for your new VM.

Now take your private key that you generated earlier, rename it to id_rsa, and copy it to ~/.ssh/id_rsa. Using "ssh {myserver}.southcentralus.cloudapp.azure.com" should connect you to your new VM! Now we just need to install CUDA.
Go to the CUDA download site:https://developer.nvidia.com/cuda-downloads. Go for the Ubuntu debian (local) version.

Now you can either download the file and transfer it to your VM via scp, or you can download it directly from the VM with wget. Once it is on your VM, follow the installation directions above, using dpkg and apt-get to install CUDA.
Installing CUDA may take a few minutes. When it is done there is just one step left to get CUDA working. Let's add nvcc to our path so we can easily run it. Once this is done, we officially have a cloud VM with CUDA on it!! Now let's have it run some CUDA code.
Take your .cu file and use scp to transfer it over to your VM. Build it with nvcc, then run it! It's as easy as that.
No comments:
Post a Comment